
Repairing a Delaminated Surfboard
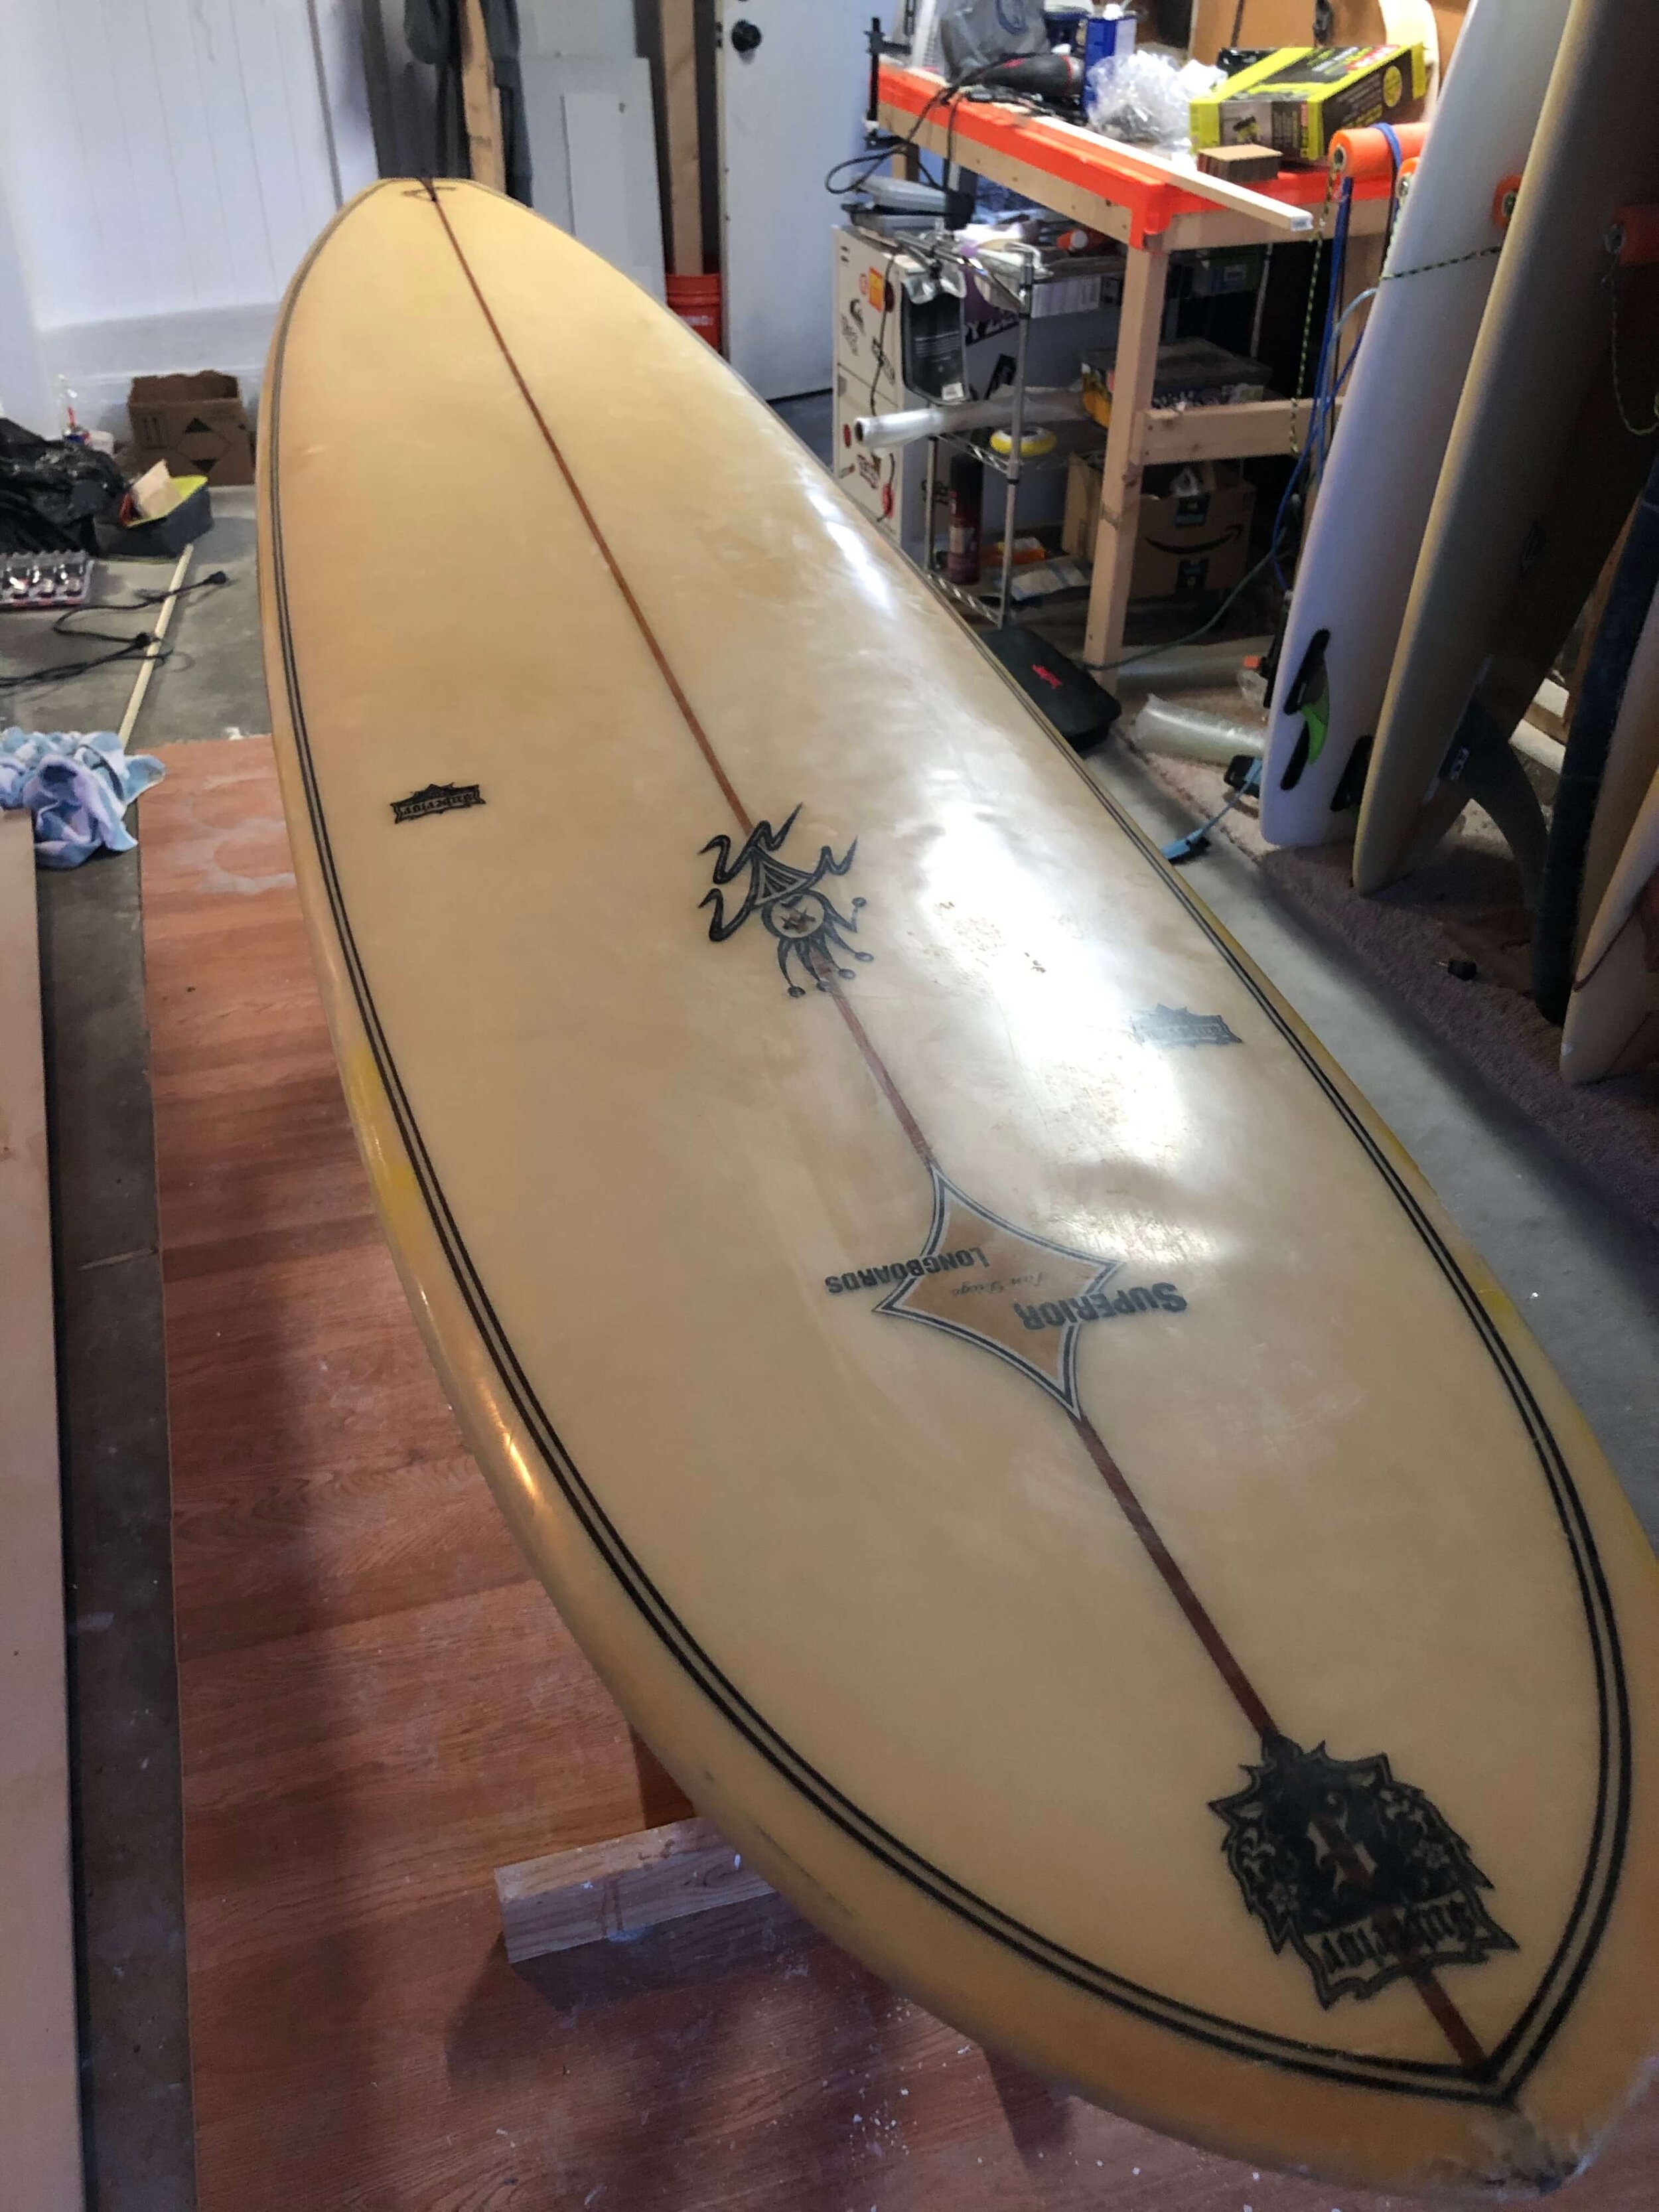
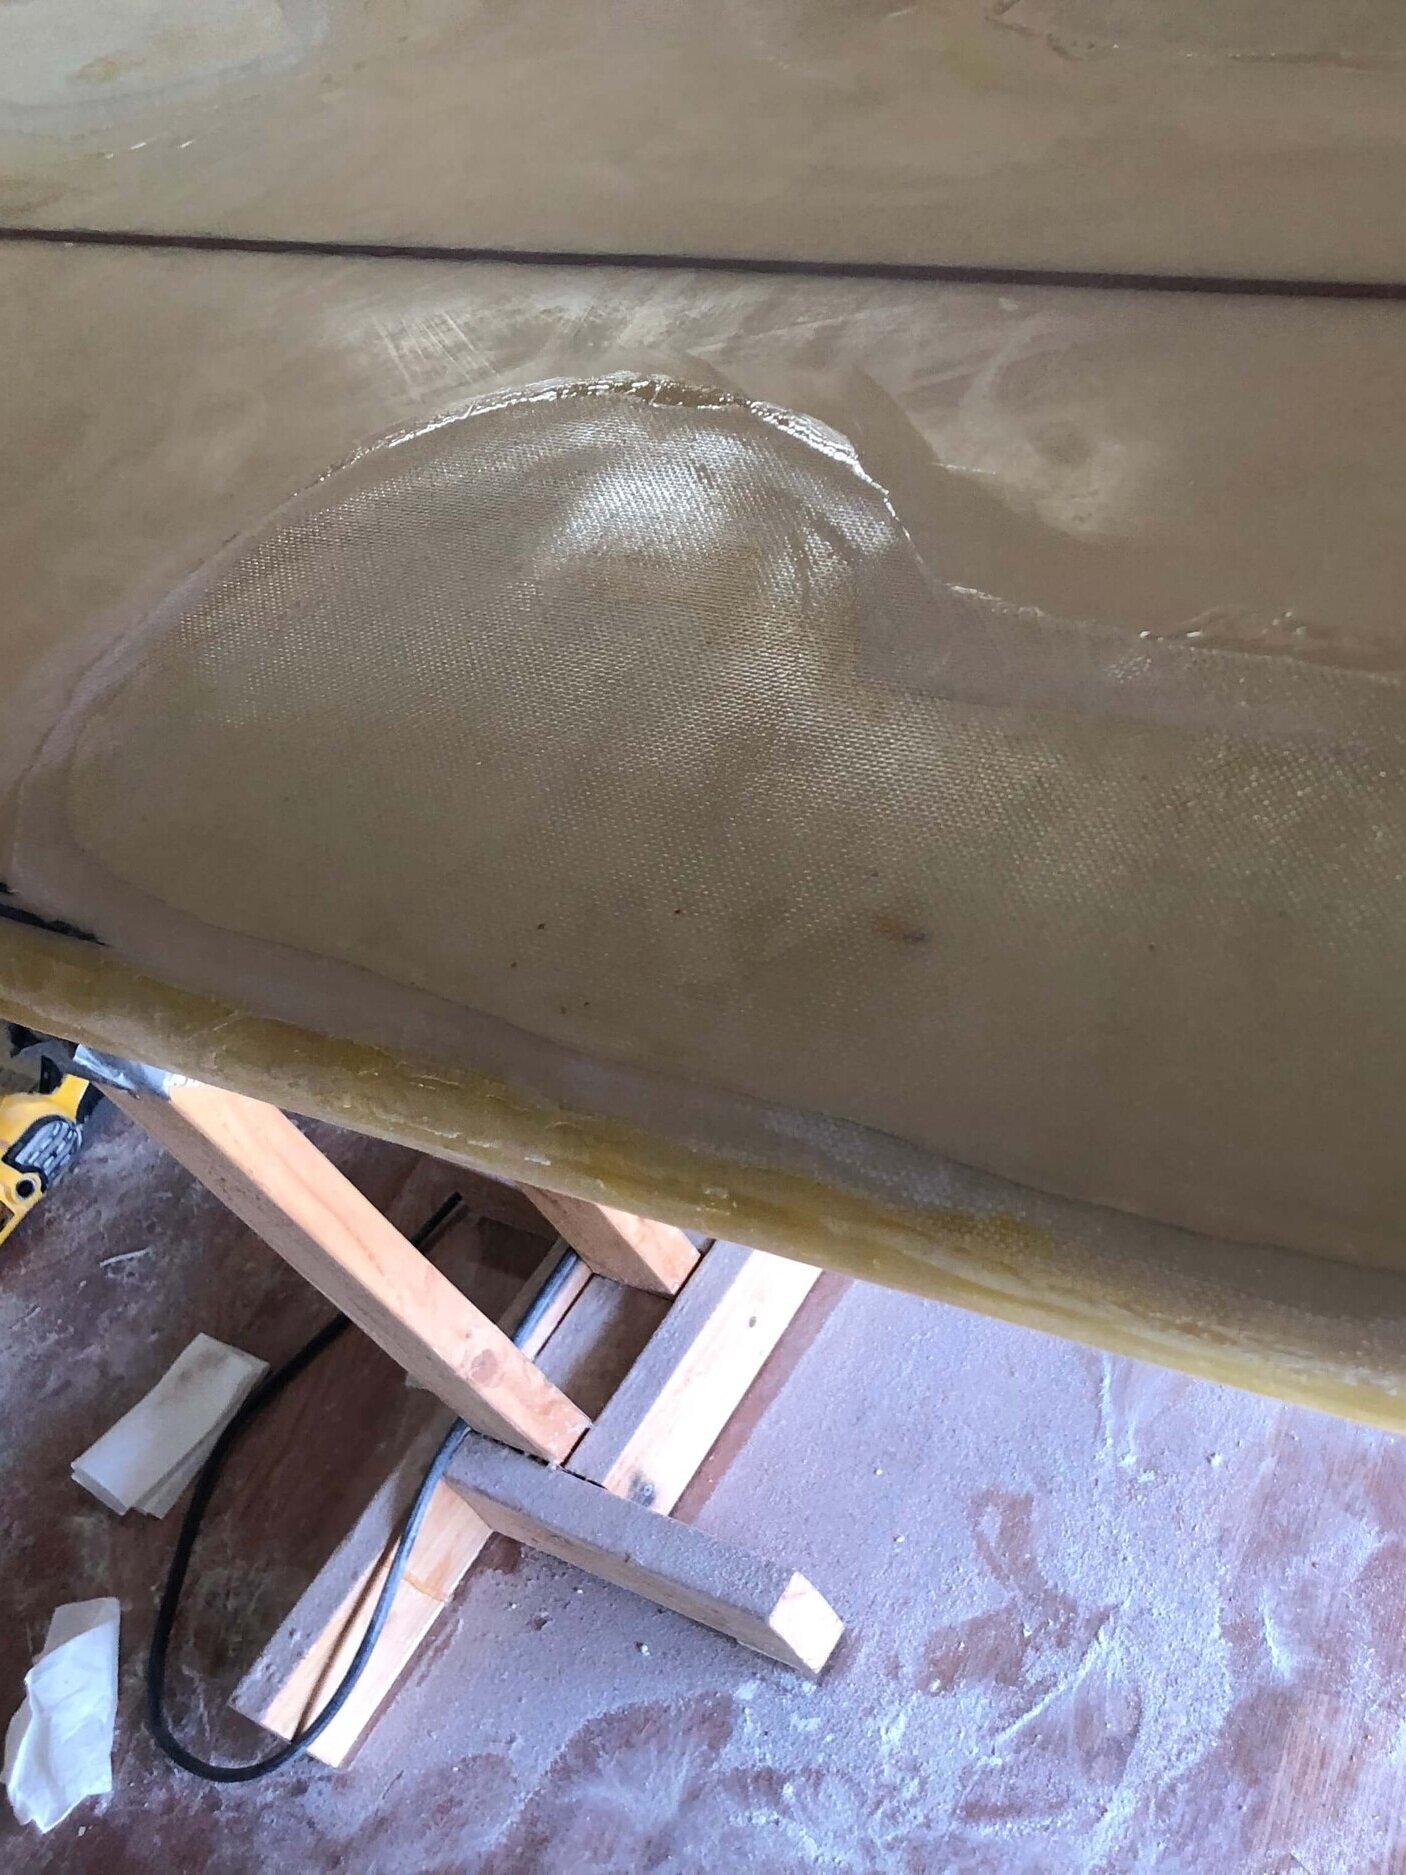
I was browsing the Facebook Marketplace looking at used boards and I came across this longboard at a decent price. Knowing that something had to be wrong with it, I investigated further and discovered that the board had some delamination; which is when the fiberglass begins to separate from the foam, creating a bubble. Delamination occurs when water gets under the glass and is then left in the sun. This is a pretty serious issue for a surfboard, but it can be repaired.
Since the price was good, I contacted the seller, picked up the board and got to work. He is how I fixed it.
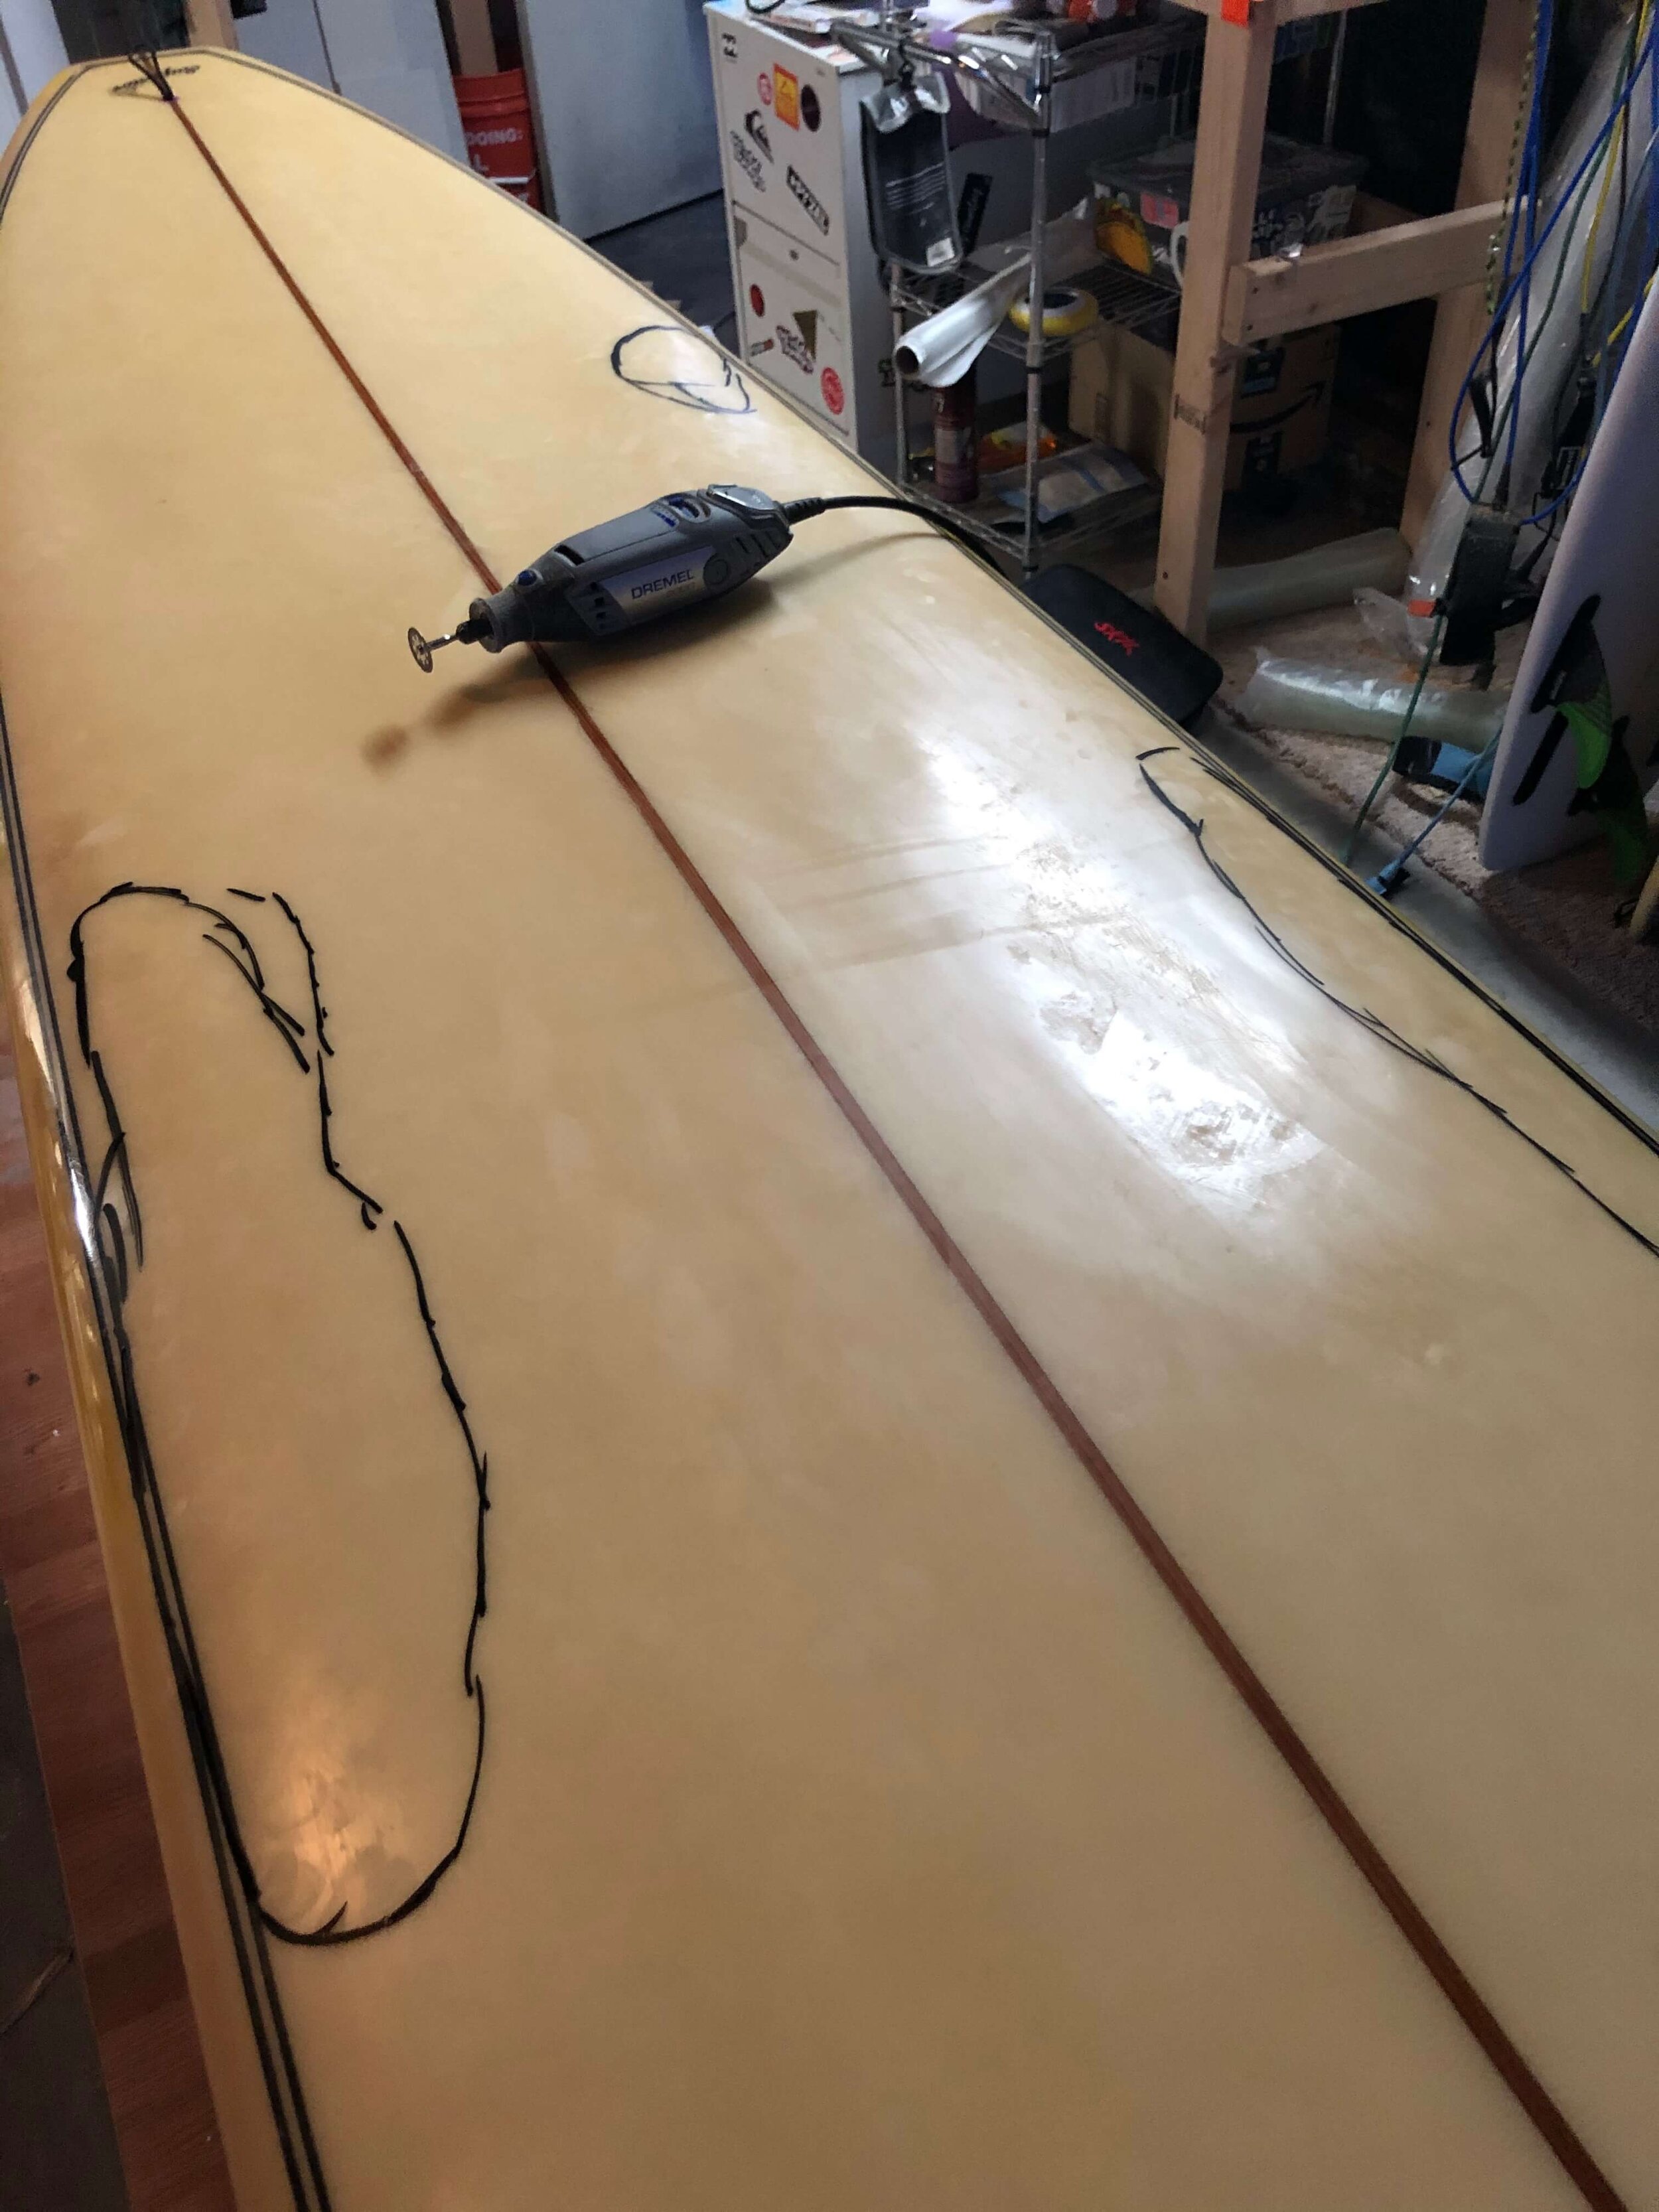
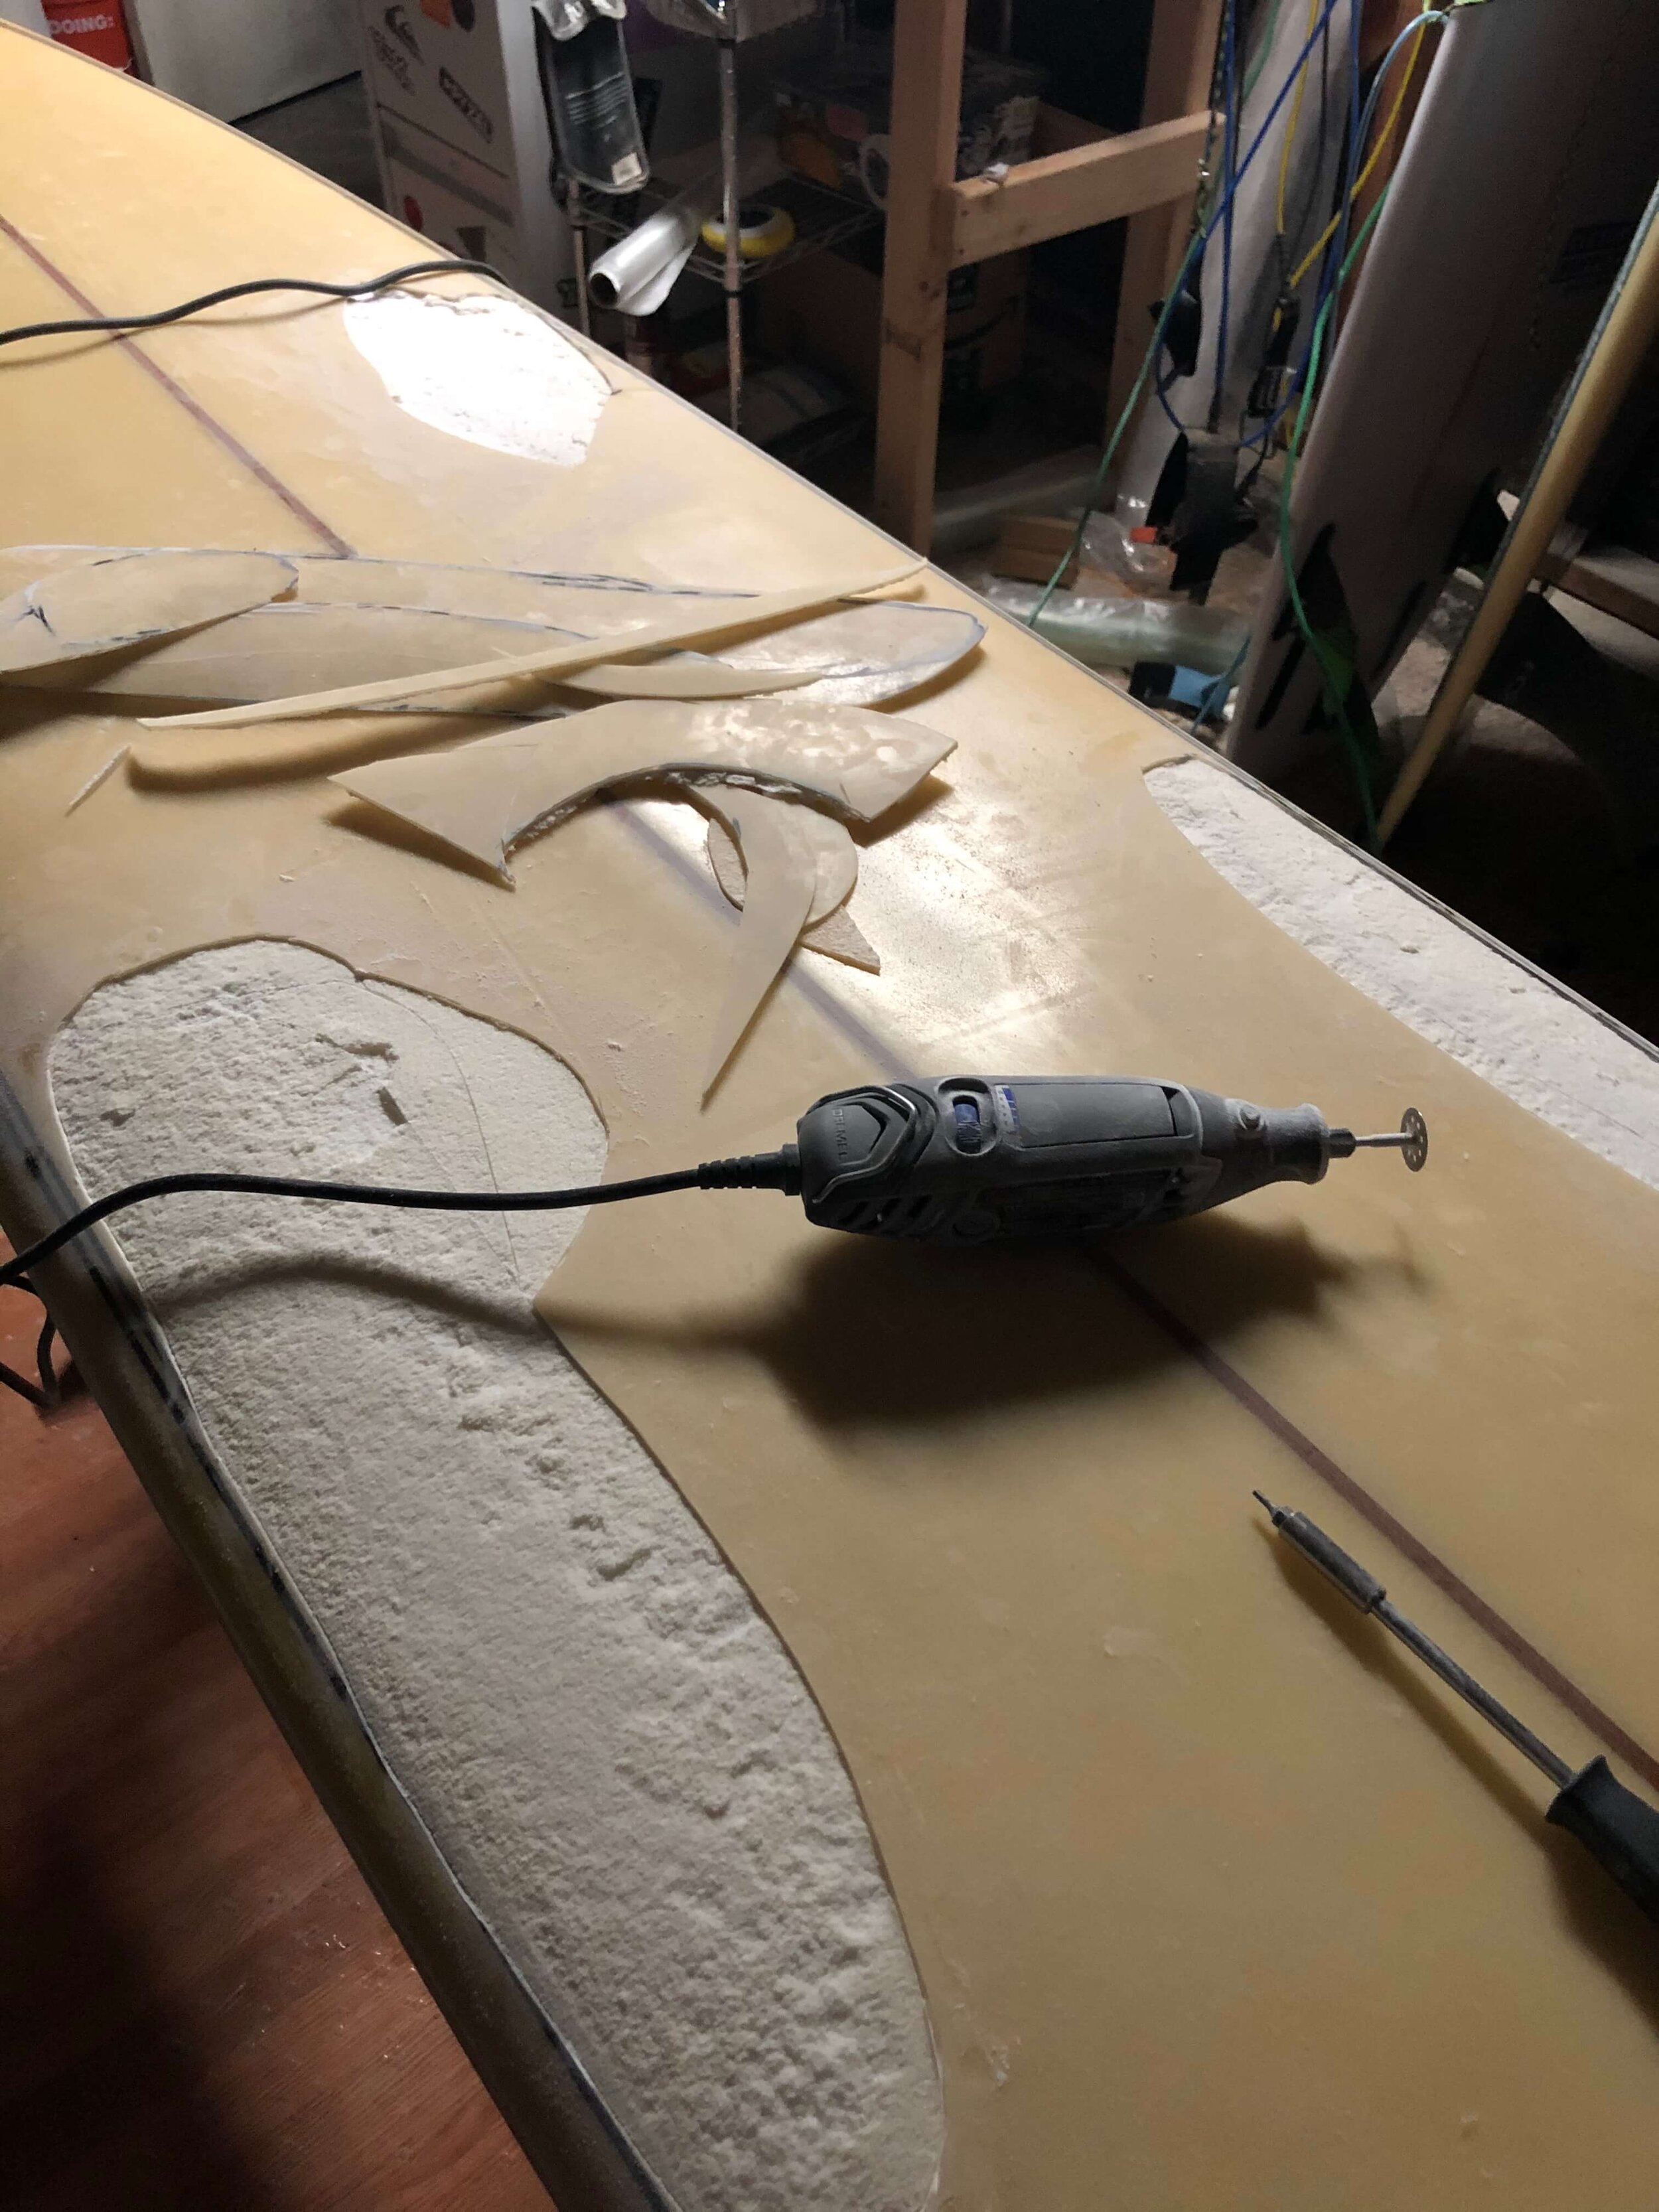
1. Remove any damaged fiberglass
I’ve seen multiple ways to fix delamination, but for damage as severe as this, I determined it was best to remove the fiberglass and start from scratch. I used a marker to indicate where the fiberglass needed to be cut and then used my Dremel with a cutting blade to remove it.
2. Sand
After the foam was exposed, I sanded it slightly to remove any damage. I also sanded the surrounding fiberglass so that my repair would blend in better with the rest of the board later on.
3. Fill the area
I then needed to rebuild the foam that was damaged. I whipped up a mixture of resin + Q Cell to fill the damaged area.
Since this board had yellowed significantly, I added some pigment to the mixture to better match the board. Color matching is not my forté, but it came out pretty close.
I used my mixture to fill all the damaged area. I prefer to leave the ding slightly under-filled since it saves me some sanding later and leaves space for the repair to blend in better with the rest of the board.
4. Sand
After my resin cured, I sanded the area smooth so it was ready for fiberglass
5. Laminate with Fiberglass
At this point, I cut out two patches of fiberglass for each area and glassed them to the board with laminating resin.
6. Sand
I like to sand my fiberglass once it cures. This step is not 100% necessary but I feel that it helps the patch blend in with the rest of the board
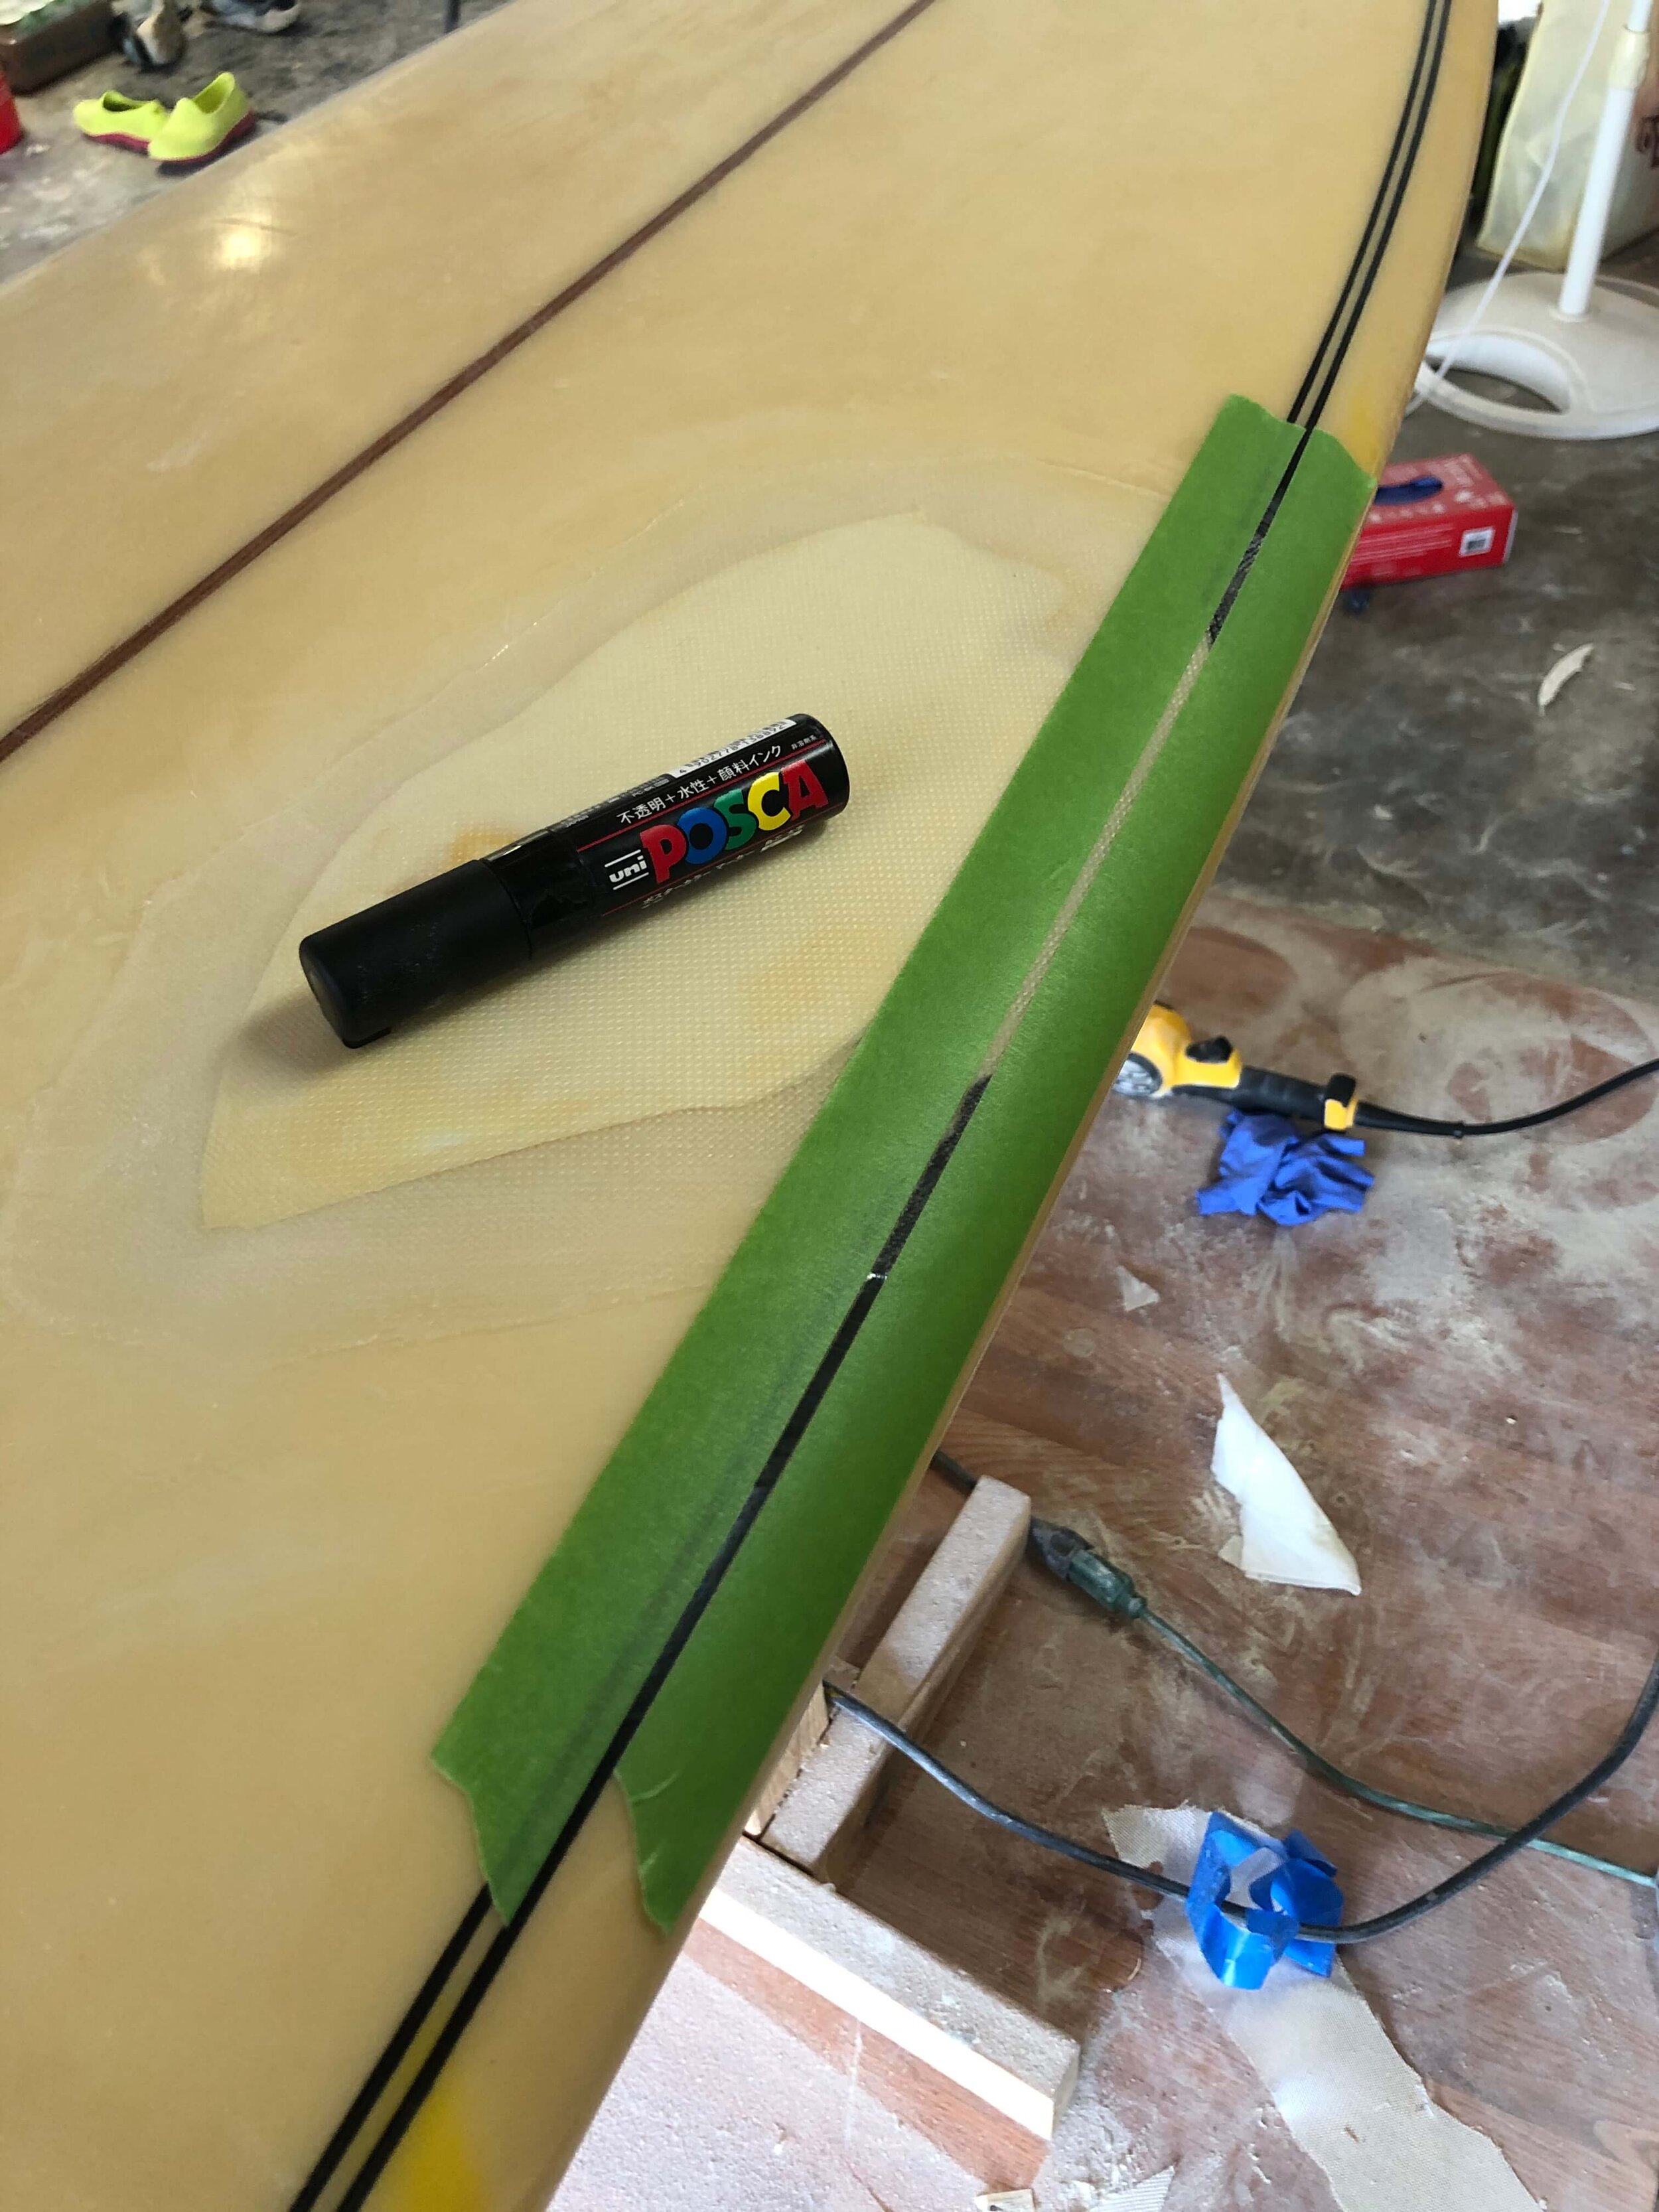
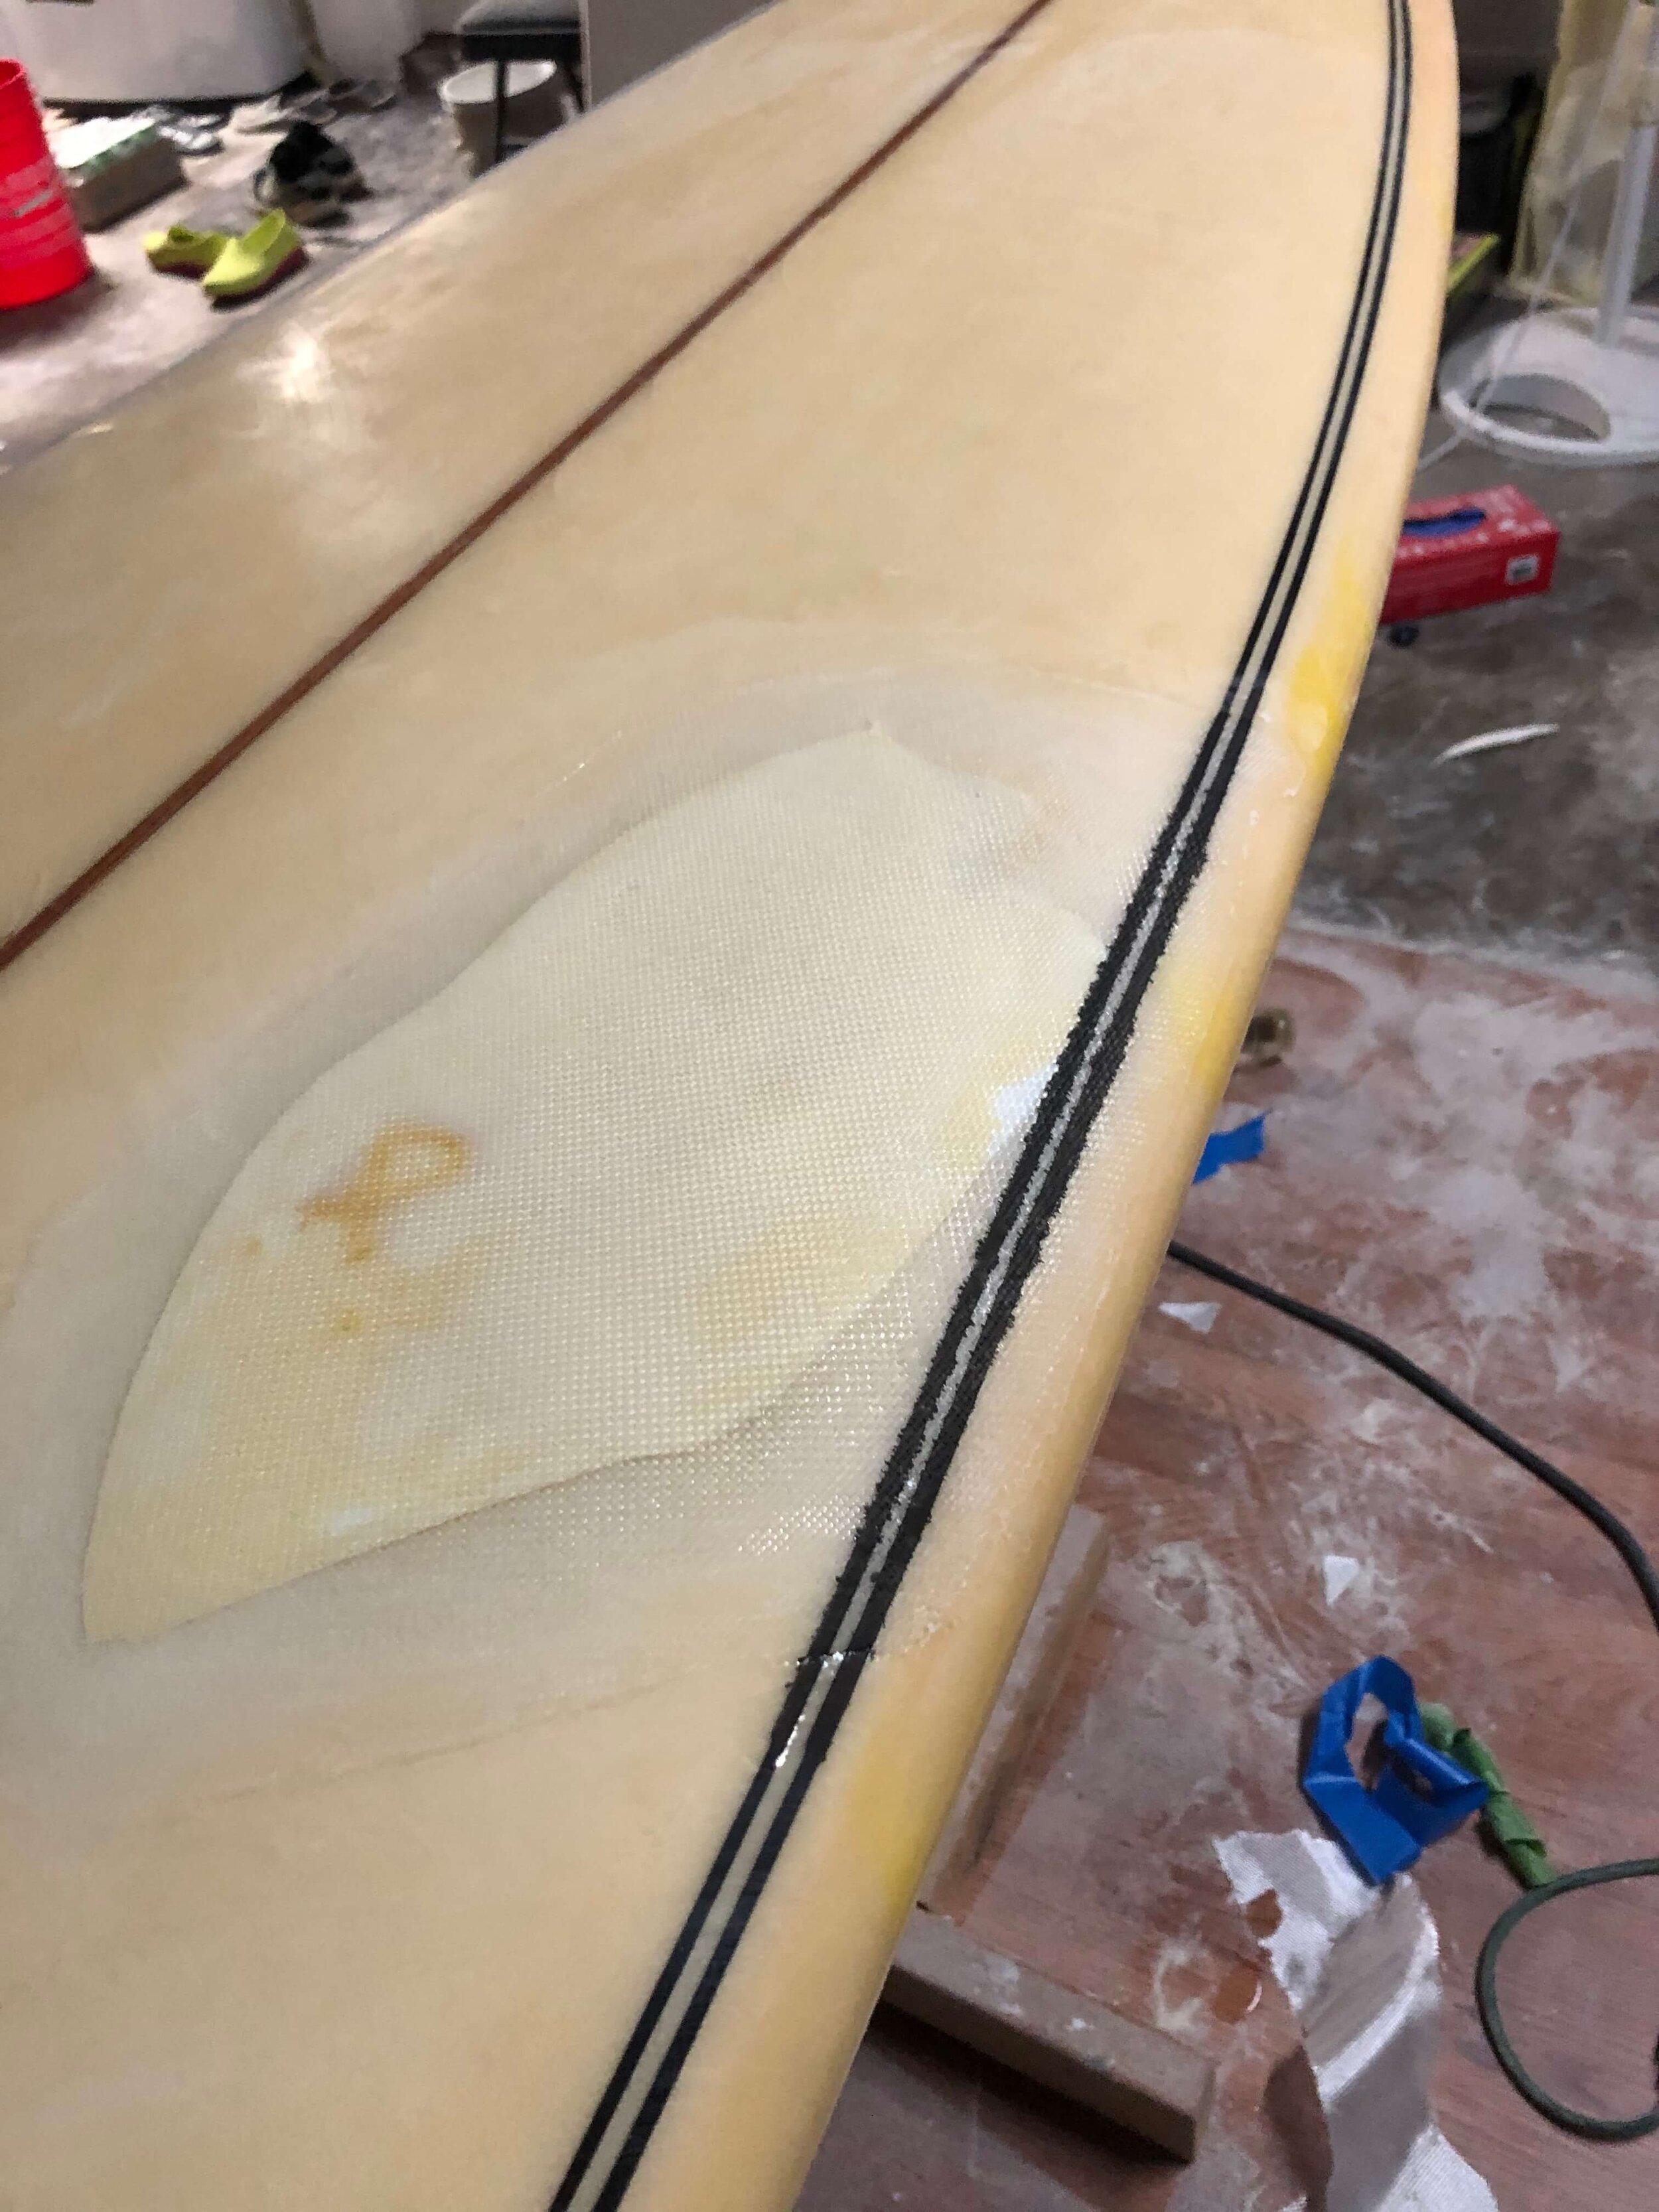
7. Pinlines
This board has a set of two pinlines running down the rails. Part of them had to be removed to repair the delam and I figured I would try to replace them. I decided to try the easy route and use a posca pen to paint the pinlines back on. This would’ve worked fine, but I did this on the fiberglass when I should’ve done it on the hot coat. Unfortunately this led to a lot of bleeding. While that was a bummer, I learned a good lesson and it's only cosmetic.
8. Hot coat
With the pinlines dry, I was ready to hot coat. Using hot coat resin, I brushed on a thin layer over the patches. Once I was satisfied with it being nice and smooth, I let it sit to cure.
9. Final sand
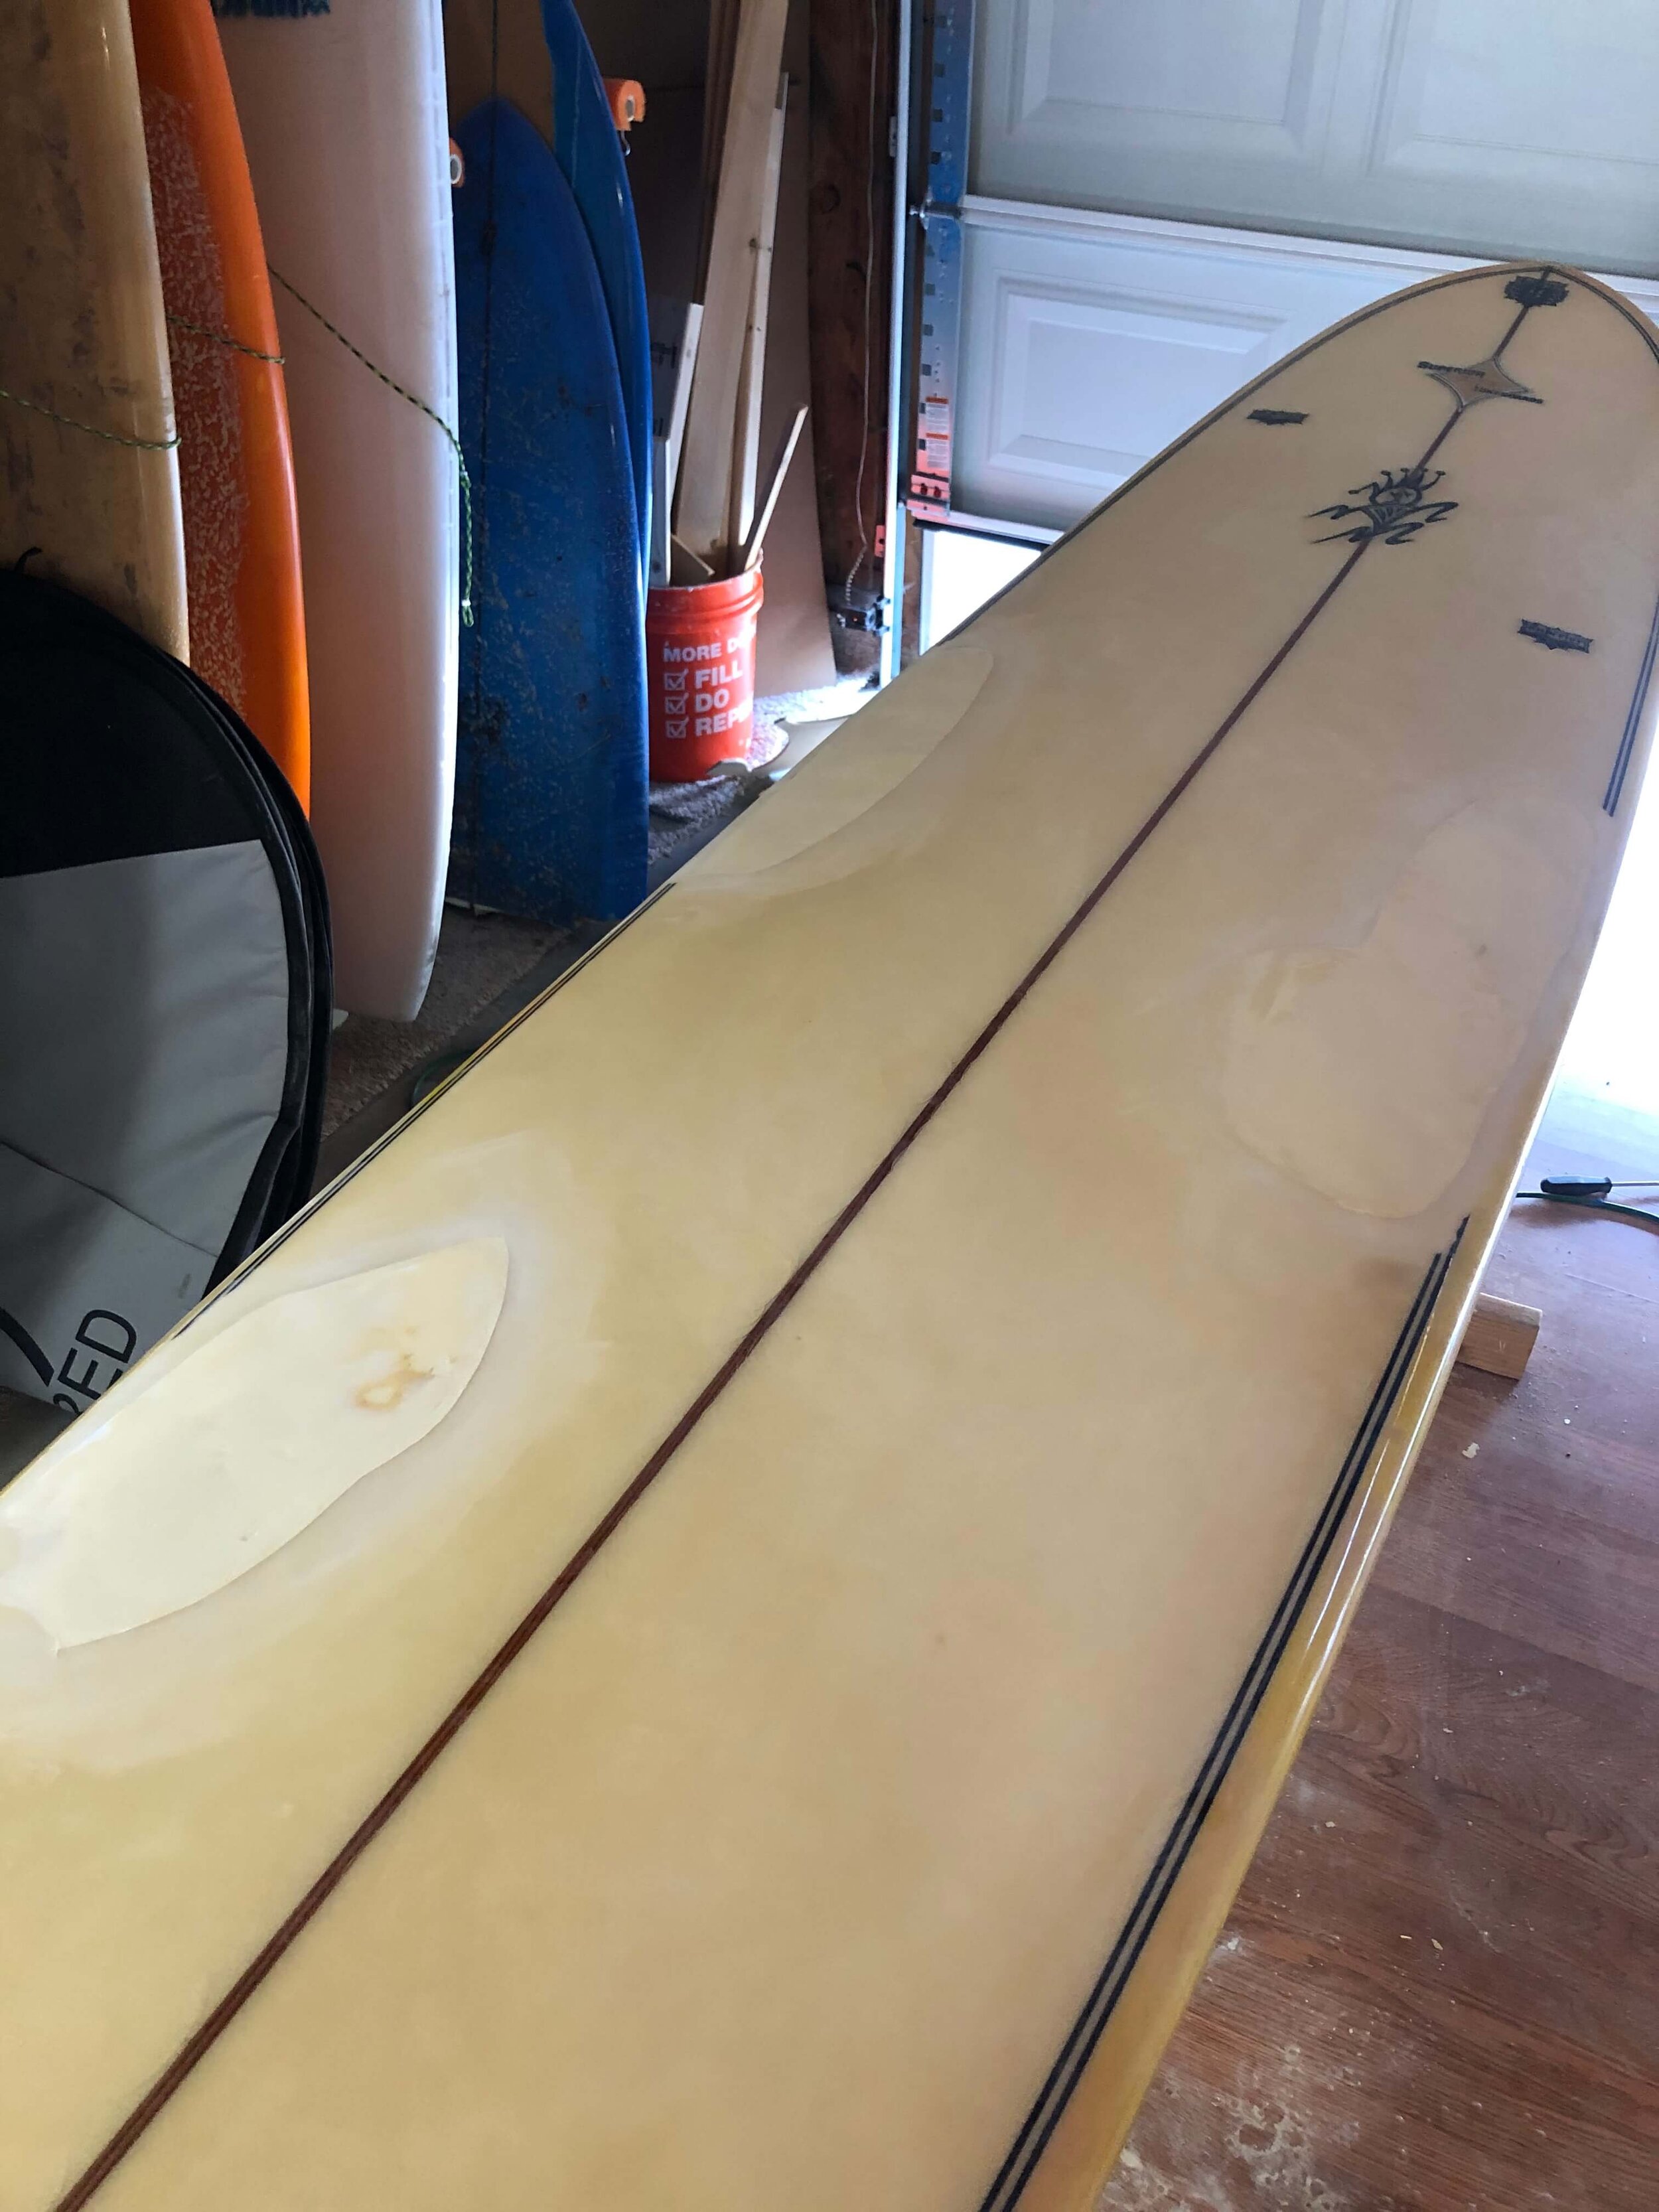
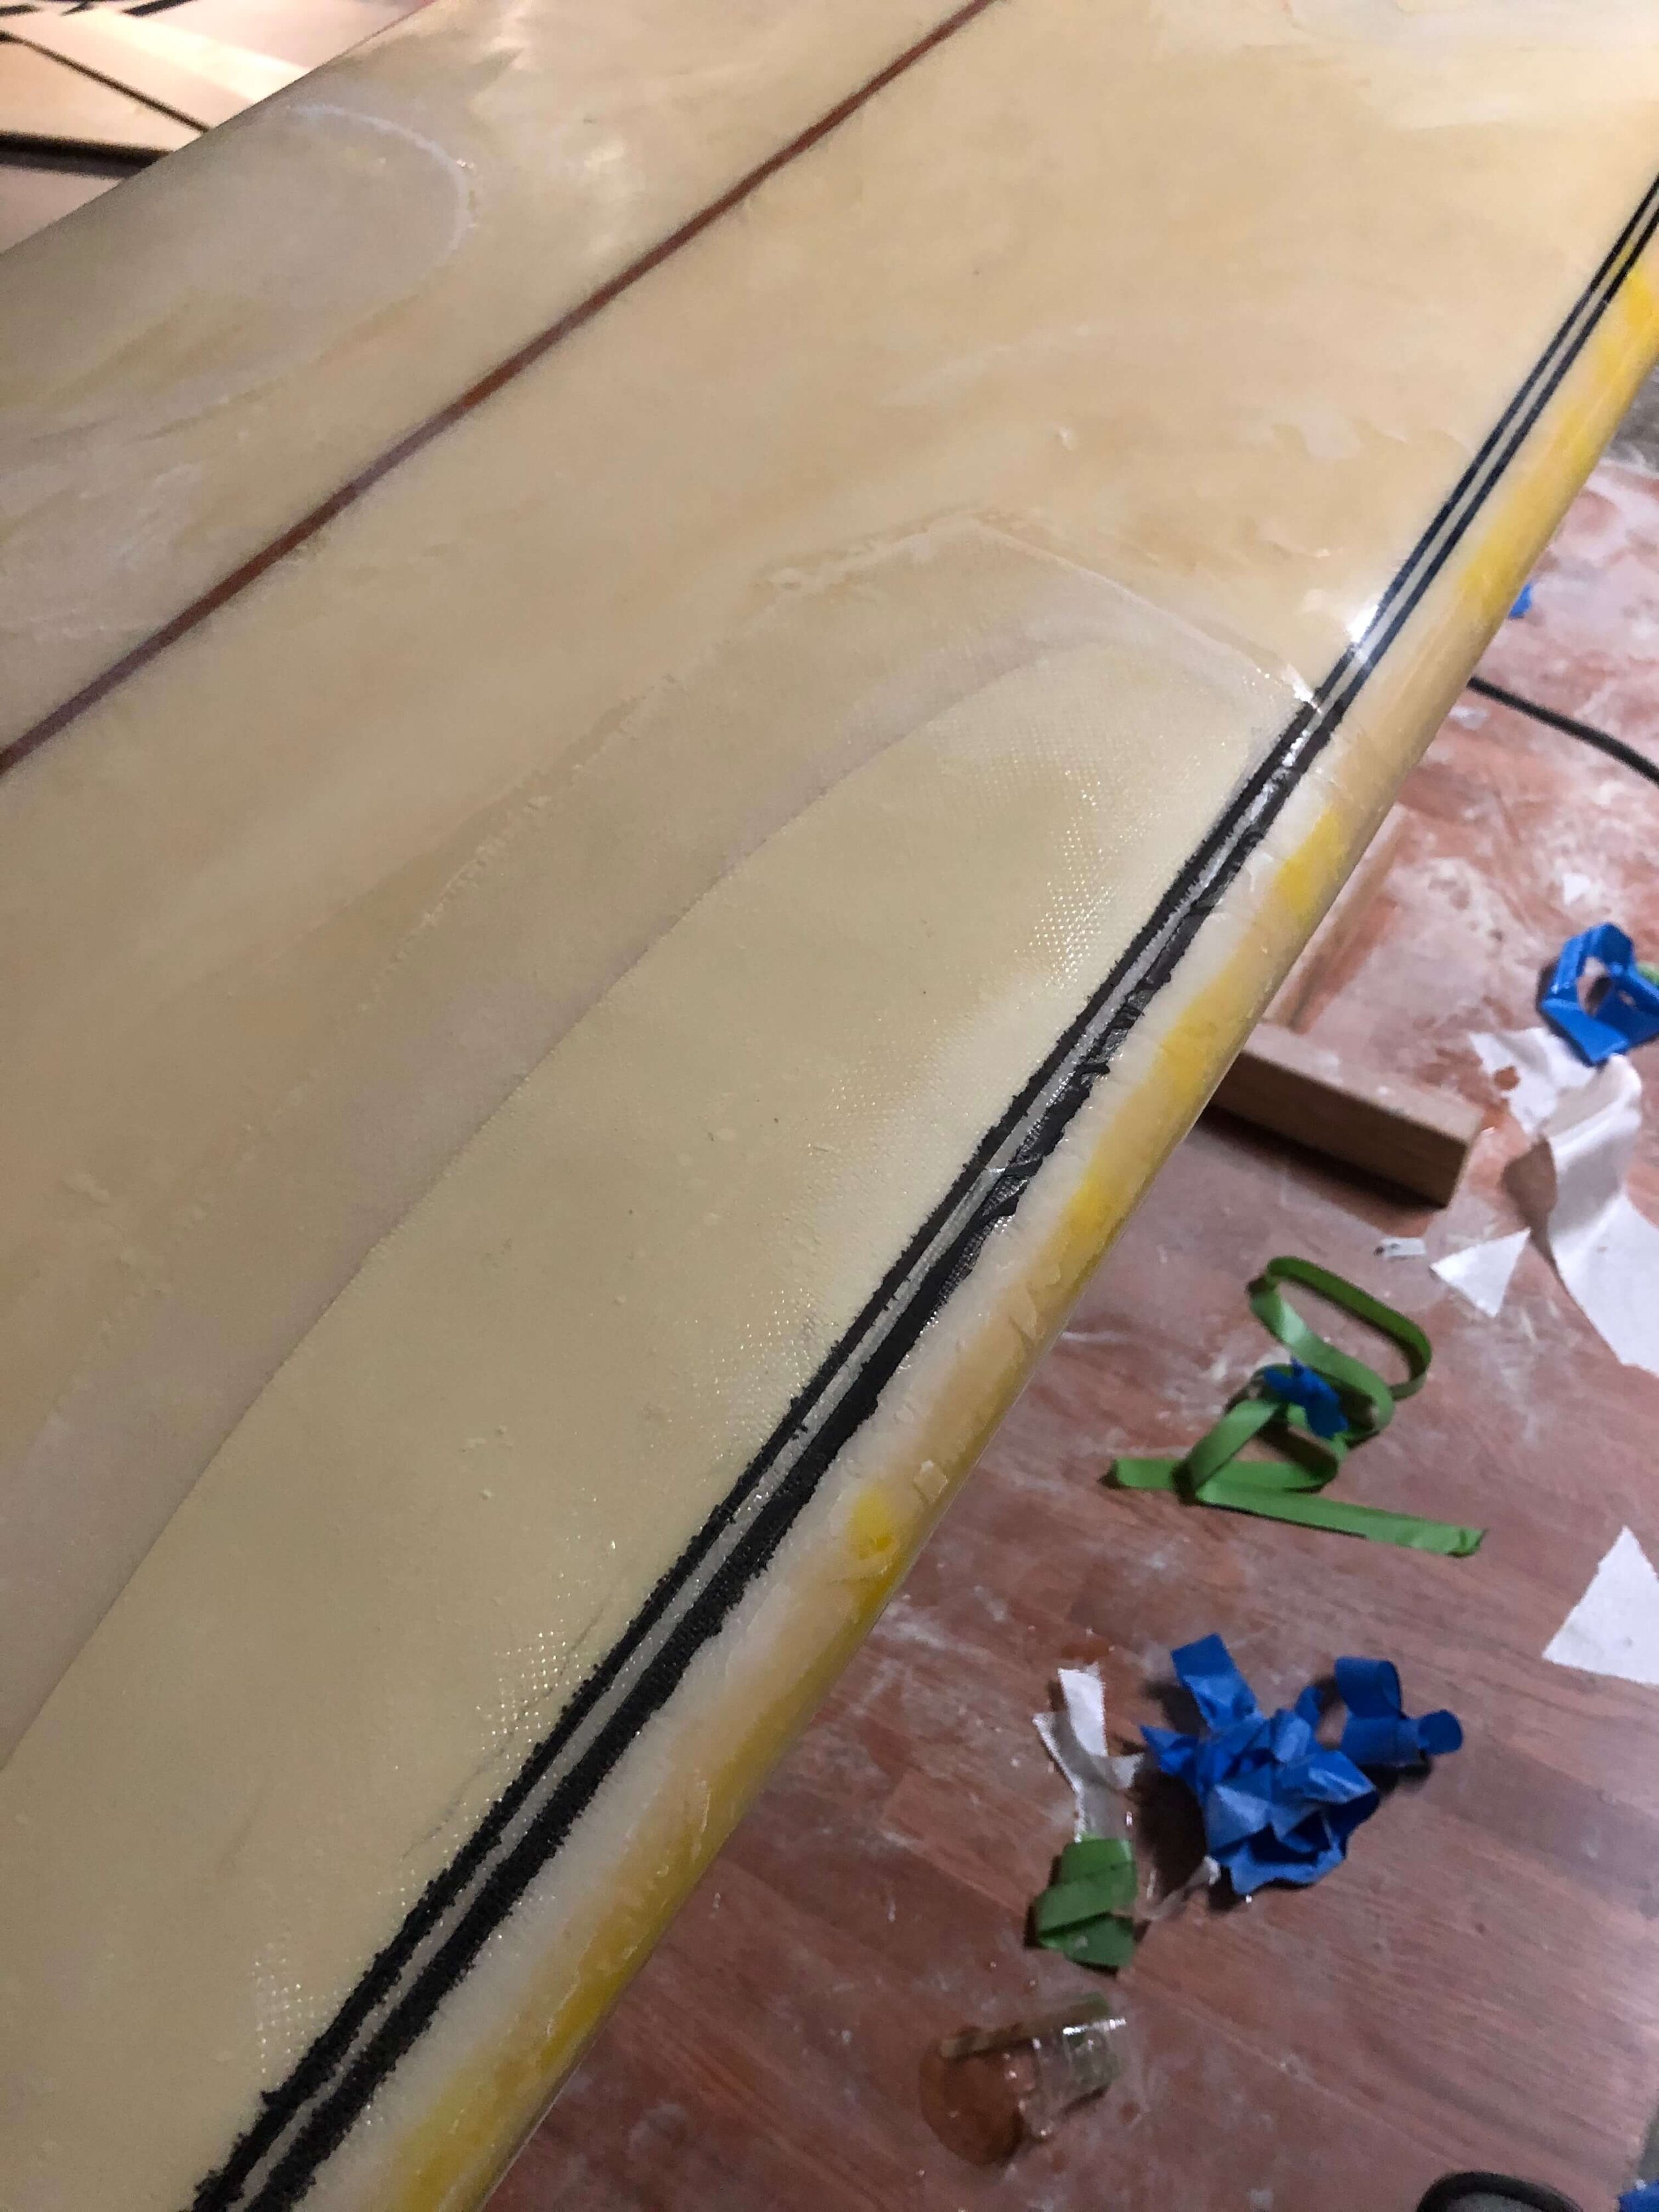
Once the hot coat had cured, I was ready for my final sanding. With this board, I started at 220 grit, did a pass at 400 grit, and then ended with a 600 grit wet sand.
This was a fun project to work on and the board turned out nice. I’m glad I was able to practice my color matching and pinline skills. The repair is solid and will get the board back into the water for years to come.
Stay Stoked!

